Chimneys add charm, warmth, and value to homes. Their aesthetic appeal and functionality make them a beloved feature in many homes. However, maintaining a chimney is not without its challenges, particularly when it comes to the flashing. Poor or damaged flashing can result in leaks and costly repairs, making it crucial to address any issues promptly. At Roofer Liverpool, we’re here to guide you through the process of chimney flashing repair while sharing tips to help safeguard your home.
This step-by-step guide will show you how to carry out chimney flashing repair effectively, whether tackling it yourself or hiring a professional. Use this guide to better understand the process, necessary tools, and best practices.
Tools and Materials
Before starting a roof flashing repair project, gather the tools and materials you’ll need to ensure a smooth and hassle-free process:
- Sheet Metal: Used to create new flashing or patch damaged sections.
- Roofing Cement: Provides a strong, waterproof bond for the flashing.
- Hammer and Nails: Essentials for securely attaching flashing.
- Utility Knife: For trimming old flashing or cutting new pieces to size.
- Wire Brush: Ideal for cleaning debris or rust in preparation for repairs.
- Caulk Gun and Roof Caulk: Helps seal edges and joints to keep water out.
- Measuring Tape: Ensures accurate cuts and proper fitting of the flashing.
- Ladder: Allows safe access to the roof.
- Safety Gear: Including gloves, goggles, and non-slip boots.
- Chimney Repair Kit (optional): Helpful for minor or quick fixes.
Having everything at hand will make your roof chimney flashing repair smoother and more efficient.
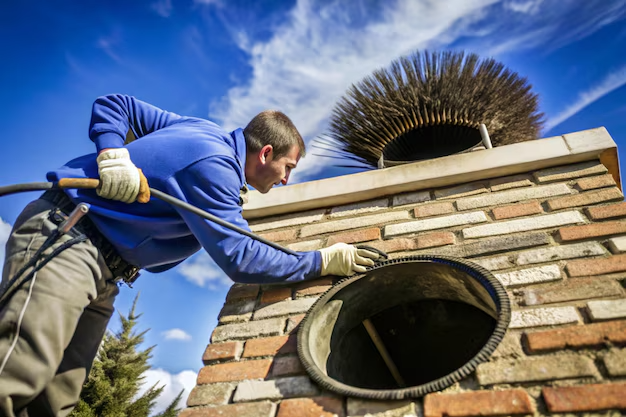
Inspect the Existing Flashing
Begin by inspecting the flashing around your chimney carefully. Look for cracks, loosened sections, rust, and signs of water damage inside or outside your home. Identifying the extent of the problem early is critical for determining whether you’ll need a full replacement or just minor chimney flashing leak repair.
Remove Damaged Flashing
If the existing flashing is too damaged to salvage, use a utility knife to remove it. Be careful not to damage the roof shingles or the chimney during this process. Remove any debris, old nails, and leftover roofing cement as well to create a clean surface for applying the new materials.
Always use gloves and safety equipment, as you’ll be working with sharp tools and materials. This level of caution is especially important for anyone tackling a chimney flashing repair near me or elsewhere on sloped or high roofs.
Clean the Area
Once you’ve removed the old flashing, clean the area thoroughly using a wire brush. Scrubbing away dirt, rust, and leftover adhesives is critical to ensuring the new flashing sticks properly. Skipping this step can lead to leaky repairs, even if you follow the other steps perfectly!
Cleaning the area properly prepares it for a watertight and secure roof flashing repair.
Measure and Cut New Flashing
Accurate measurements are essential for flashing that fits snugly around the chimney and prevents leaks. Measure the base, sides, and top of the chimney, then cut your sheet metal to fit. Remember to include base flashing for the bottom, step flashing for the sides, and counter flashing for the top.
For tricky sections, cut the flashing slightly larger than needed. You can always trim it down for a snug fit while working on your roof chimney flashing repair.
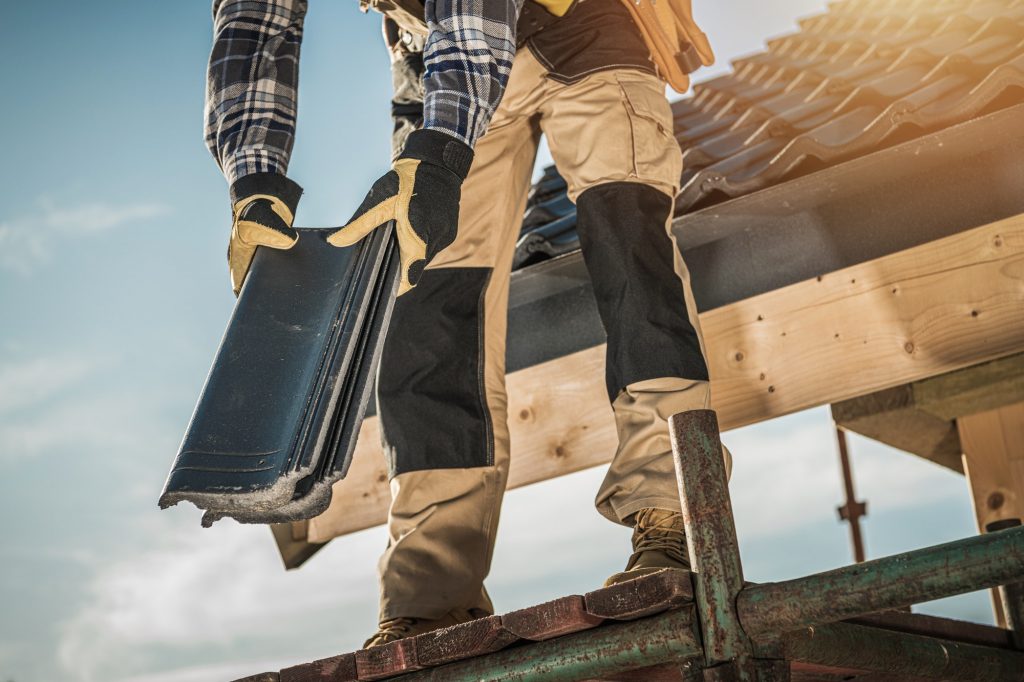
Position the New Flashing
Carefully position the new pieces of flashing around the chimney, ensuring they overlap slightly to direct water away from the structure. Start with the base flashing at the bottom, followed by step flashing along the sides, and finish with counter flashing across the top. Proper layering is key to ensuring a watertight connection.
Take your time aligning everything perfectly, as proper placement makes a massive difference in preventing leaks.
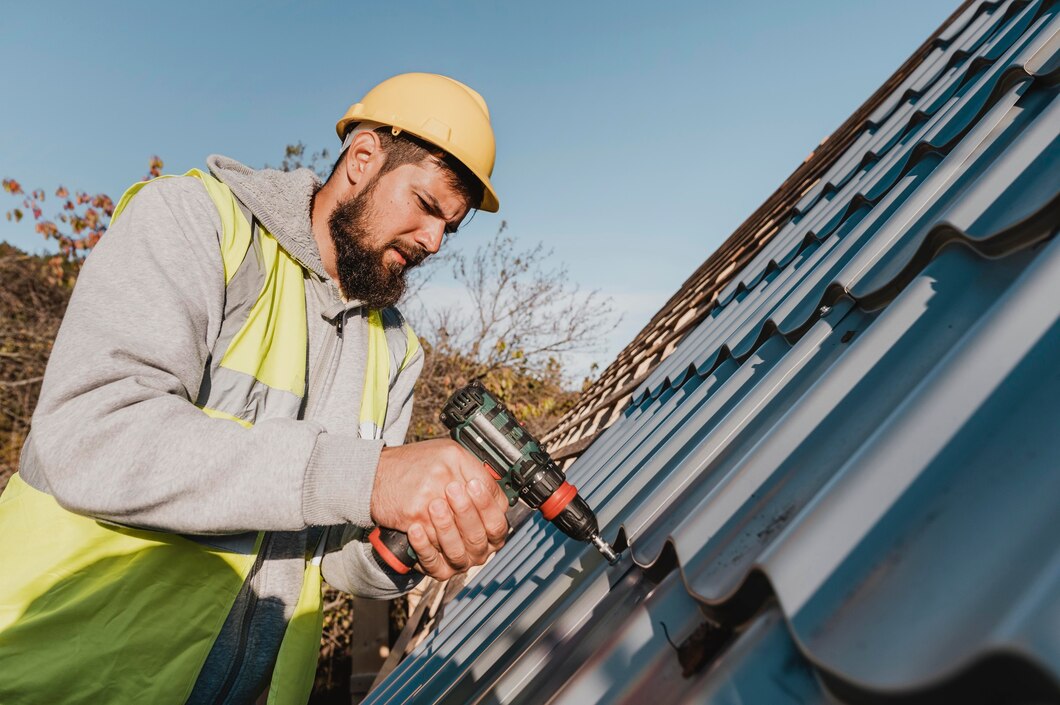
Secure the Flashing
Use nails to secure the flashing to your roof and chimney. Be sure to only nail along the edges; you don’t want to create unnecessary holes that water could seep through. For best results, use rust-resistant nails designed for outdoor applications.
By securing everything down tightly, you’ll prevent movement or wind damage down the line.
Apply Roofing Cement
To seal the flashing permanently, use a caulk gun to apply roofing cement along the edges and seams of the flashing. Spread it evenly with a putty knife to create a secure, watertight seal. Roofing cement is an excellent barrier against water infiltration if applied correctly.
Give the cement time to dry and bond fully before testing the repair.
Seal Joints with Roof Caulk
For additional protection, seal the flashing’s joints with roof caulk. Focus on areas where the flashing meets the chimney or roof valleys, as water tends to collect there. Apply light pressure as you move along, ensuring careful coverage and a smooth finish over cracks or edges.
Roof caulk serves as a complementary barrier for chimney flashing repair uk and in moist or rain-prone areas.
Final Inspection
Before declaring the project complete, inspect the flashing thoroughly. Check for any loose edges, missed seals, or unlevel sections that could lead to future water damage. If needed, touch up vulnerable spots with more roofing cement or caulk.
A final inspection ensures every part of your roof chimney flashing repair is solid and secure.
Clean Up and Monitor
Once the job is done, clean up the work area and remove any debris or excess material from the roof. Over the next few days or weeks, monitor the status of your repair, particularly after heavy rain. If you notice any leaks or maintenance issues, address them promptly.
For added peace of mind, consider scheduling an annual chimney inspection to prevent issues from returning.
Roof Flashing Repairs Simplified
While tackling a chimney flashing repair may seem intimidating, it becomes manageable when broken into these clear, actionable steps. Properly installed flashing isn’t just about protecting your home from leaks; it’s also crucial for maintaining the structural integrity of your roof and chimney. Whether you try this as a DIY project or hire experts, well-installed flashing can safeguard your investment for years to come.
If you’re looking for professionals to assist or unsure about handling repairs yourself, trust the team at Roofer Liverpoolfor reliable chimney flashing repair near me. Our expertise and commitment to quality ensure your roof stays leak-free and safe in all weather conditions.
Why Choose Us Roofer Liverpool
When it comes to protecting your roof and chimney, Roofer Liverpool is the trusted name you can rely on. With years of experience in chimney flashing repair, we provide expert solutions for everything from minor fixes to complete installations. Our team is equipped with top-notch tools and a dedication to customer service that stands out.
We understand the unique challenges of roof flashing repair in the UK, including dealing with unpredictable weather and varying architectural styles. That’s why we tailor each project to meet your specific needs, ensuring long-lasting results that provide peace of mind.
Don’t leave your home’s safety to chance. Choose Roofer Liverpool for reliable, professional chimney flashing leak repair and other roofing services. Get in touch with us today to schedule your inspection or learn more about how we can help with your roofing needs.